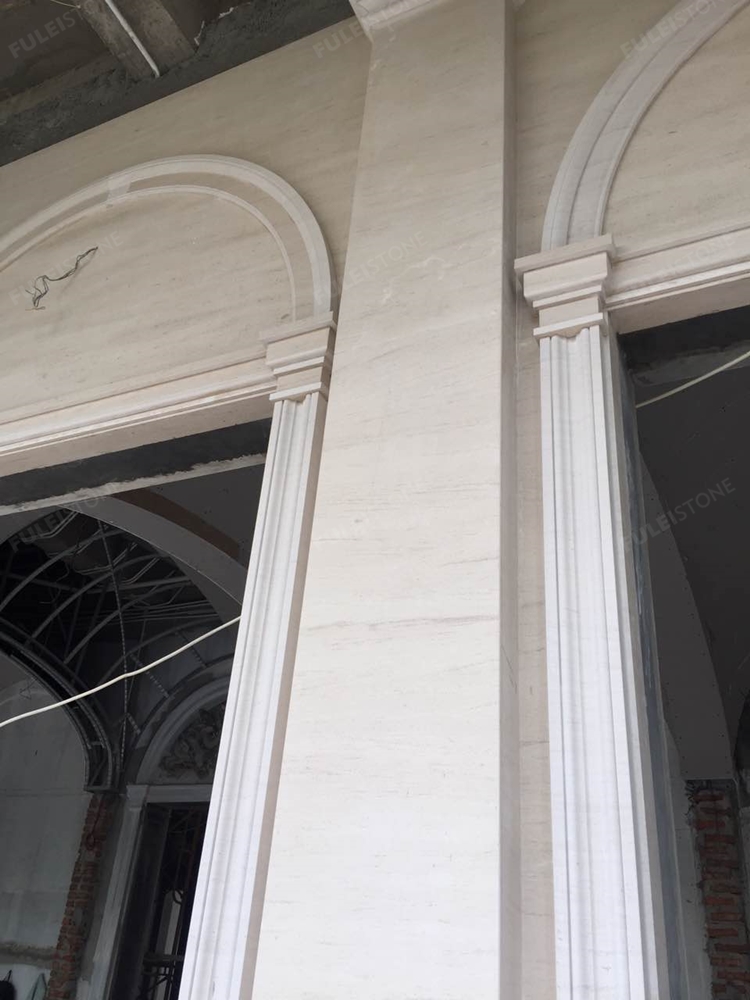
Stone Tiles for Wall Installation
Wet Fixing with Cement and Sand Infill
1. Select standard size marble stone tiles with consistent color and vein variation. For cut-to-size panels, installation should be conducted according to the cutting order and numbering system of drawings.
2. Setting out the level and vertical alignment of the first and the lower layer of the stone wall.
3. Drilling holes to edges of stone panels.
4. Install the stone wall panels according to setting out requirement.
5. Wedge the stone wall panels to their fixing position temporarily.
6. Drill holes on the structure wall and fix the stone wall panels with hooks to the backing structure wall.
7. Shower the backing wall with clean water, especially for brick or block backing wall.
8. Infill the cavity behind stone wall panels with cement and sand mortar (mixing ratio 1:3) to 1/3 level first. After setting, infill the whole cavity with cement/sand mortar to its full height. Clean all dirt on stone surface and edges with soft cloth or brush after installation. Pointing and color grouting all stone tile joints.
Wet Fixing with Cement Sand Mortar
1. Setting out and select stone panels for fixing.
2. Drill holes and connect fixing hooks.
3. Pre-lay stone panels to the trial fixing position.
4. Shower the backing wall and apply cement slurry to panel backing.
5. Mixing cement and sand mortar (1:1 in ratio).
6. Apply cement and sand mortar to backing wall.
7. Install the stone panels to wall and press to the fixing position by hammer handle.
8. Reinforce the stone panels by fixing hooks to the holes of the backing wall.
9. Final check the level and alignment of the wall.
10. Clean all dirt on stone surface and edges with soft cloth or brush after installation.
11. Pointing and color grouting all joints of granite floor tiles.


Leave A Comment